How to use Ruby on Rails with React in 2026: Full Guide + Tutorial
Updated in 2025
Ruby on Rails (RoR) and ReactJS are two distinct technologies in software development.
RoR is a web application framework primarily used for building backend services, while ReactJS is a JavaScript library commonly used for building interactive user interfaces on the frontend.
Recognized by Clutch.co as one of the top Ruby on Rails development companies, we’re excited to share our experience in this blog post and highlight the real strengths of both technologies.
You’ll gain valuable insights into how Ruby on Rails can be integrated with React and discover the advantages of using them together.
Why You Should Choose Ruby on Rails for the Backend
If you’re looking to build your product faster without compromising on quality, Ruby on Rails might be your perfect match.
Let’s dive into the principles that make it so effective and see how they translate into real-world development benefits.
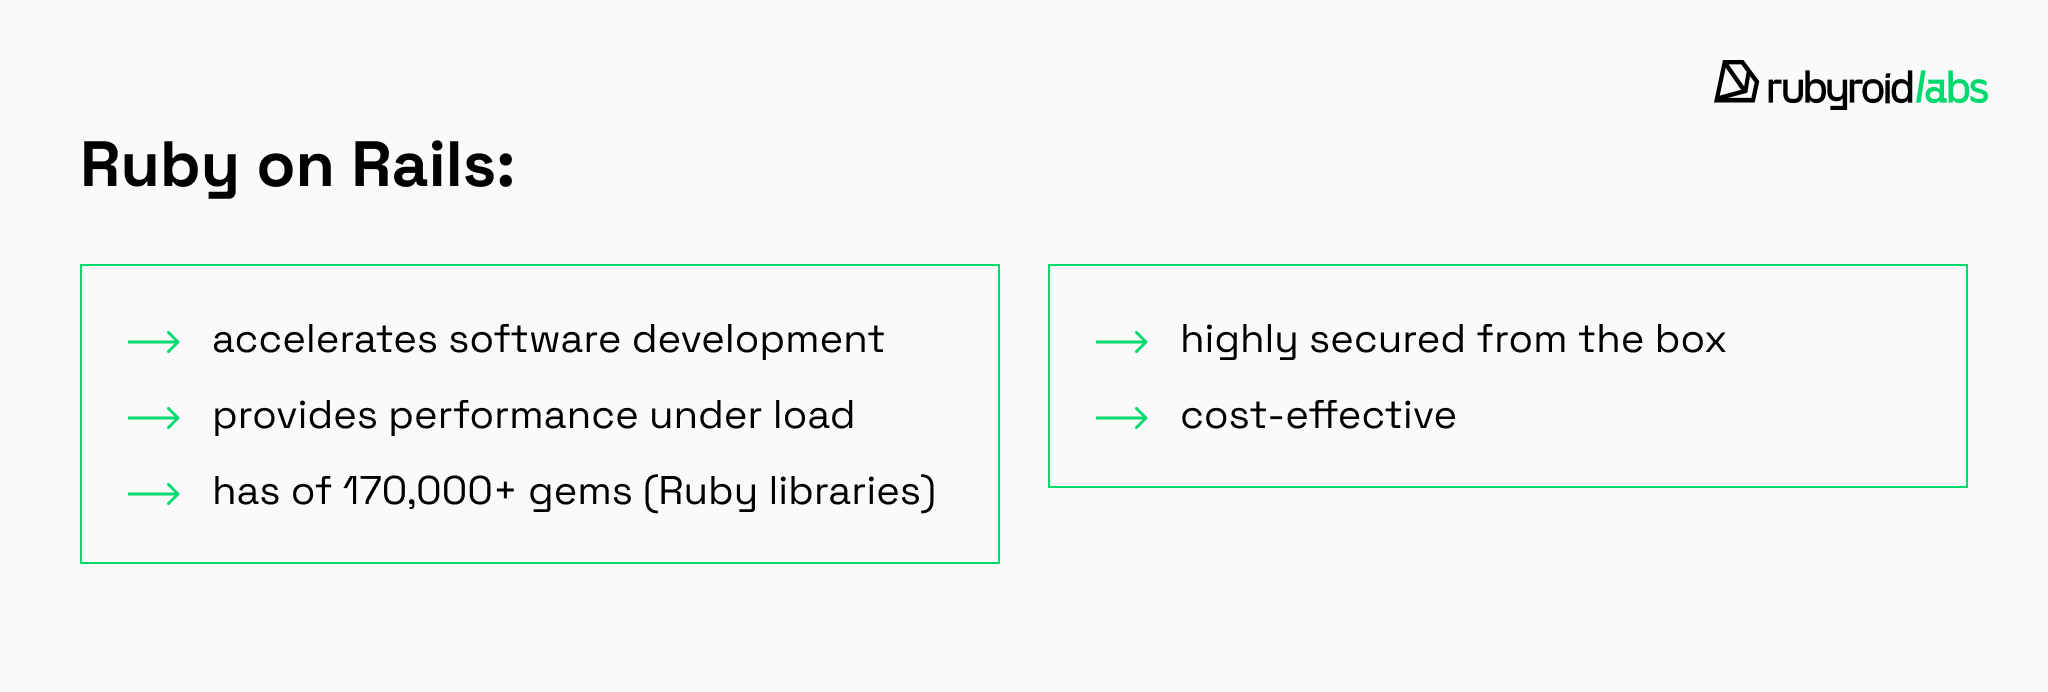
Ruby on Rails Accelerates Software Development
Ruby on Rails is built on two principles, which are Conventions over Configurations and Don’t Repeat Yourself (DRY).
According to the CoC principle, when we follow the established conventions, we develop apps in less time and with fewer lines compared to using technologies languages like Java or Node. The DRY principle encourages our developers to create concise and reusable code to avoid duplication.
When applied, these two principles reduce the number of decisions developers need to make in order to build applications, as well as improve code quality.
RoR Provides Performance Under Load
Rails architecture accommodates rising traffic volumes and larger datasets seamlessly. The framework’s robust scaling capabilities allow applications to maintain optimal functionality and responsiveness as companies expand, ensuring smooth operations during periods of increased activity and demand.
Ruby on Rails Has an Extensive Library of Gems
Ruby on Rails has more than 175,000+ free libraries, released as gems, with over 221+ billion downloads. These gems expand the core functionality of web applications. So if you need to add additional features, you’re likely to find them in one of these libraries. Here are the top three gems:
- Devise is a gem for user authentication and authorization, offering features like password encryption, email confirmation, and recovery.
- CarrierWave simplifies file uploads and management, including image resizing, file validation, and storage.
- ActiveAdmin is a gem used to create customized admin dashboards, pages, and reports tailored to the specific needs of administrators.
Rails Security Features
RoR offers strong built-in protection against common threats like cross-site scripting (XSS), cross-site request forgery (CSRF), and SQL injection, while also guarding against phishing and other web-based attacks.
What’s more, Rails 8 introduces built-in authentication and authorization tools, reducing reliance on third-party gems like Devise or Pundit. With stronger session management, enhanced encryption, automatic security updates, and secure-by-default configurations, Rails makes it easier than ever for developers to build secure applications without the setup headaches.
No wonder companies like Shopify, Zendesk, and Airbnb continue to trust Ruby on Rails as the backbone of their server-side development.
Cost-Effectiveness for Startups and Enterprises
Ruby on Rails is an open-source framework that is completely free with no licensing fees attached. Since the frameworks already include pre-built components and gems, which developers can download from GitHub, it reduces potential development costs.
The combination of all the benefits we’ve mentioned makes Ruby on Rails a preferred choice for startup founders and businesses of all sizes.
Having served as a Ruby on Rails development partner on over 200 projects, we can confidently say that this framework allows you to build a product quickly, with a robust, scalable codebase that’s ready to grow at any moment.

Why You Should Use React for The Frontend
While Ruby on Rails provides an exceptional backend foundation for rapid development and clean architecture, the frontend is where users truly experience your product.
Modern Rails offers tools like Hotwire and Turbo that enable interactive interfaces without heavy JavaScript frameworks, which is excellent for content-heavy applications, admin interfaces, and traditional web apps seeking SPA-like responsiveness.
However, when your application demands complex state management, rich animations, real-time collaboration, or highly dynamic interfaces, React becomes the natural choice with its component-based architecture and mature ecosystem.
Let’s break down why it’s worth using ReactJS.
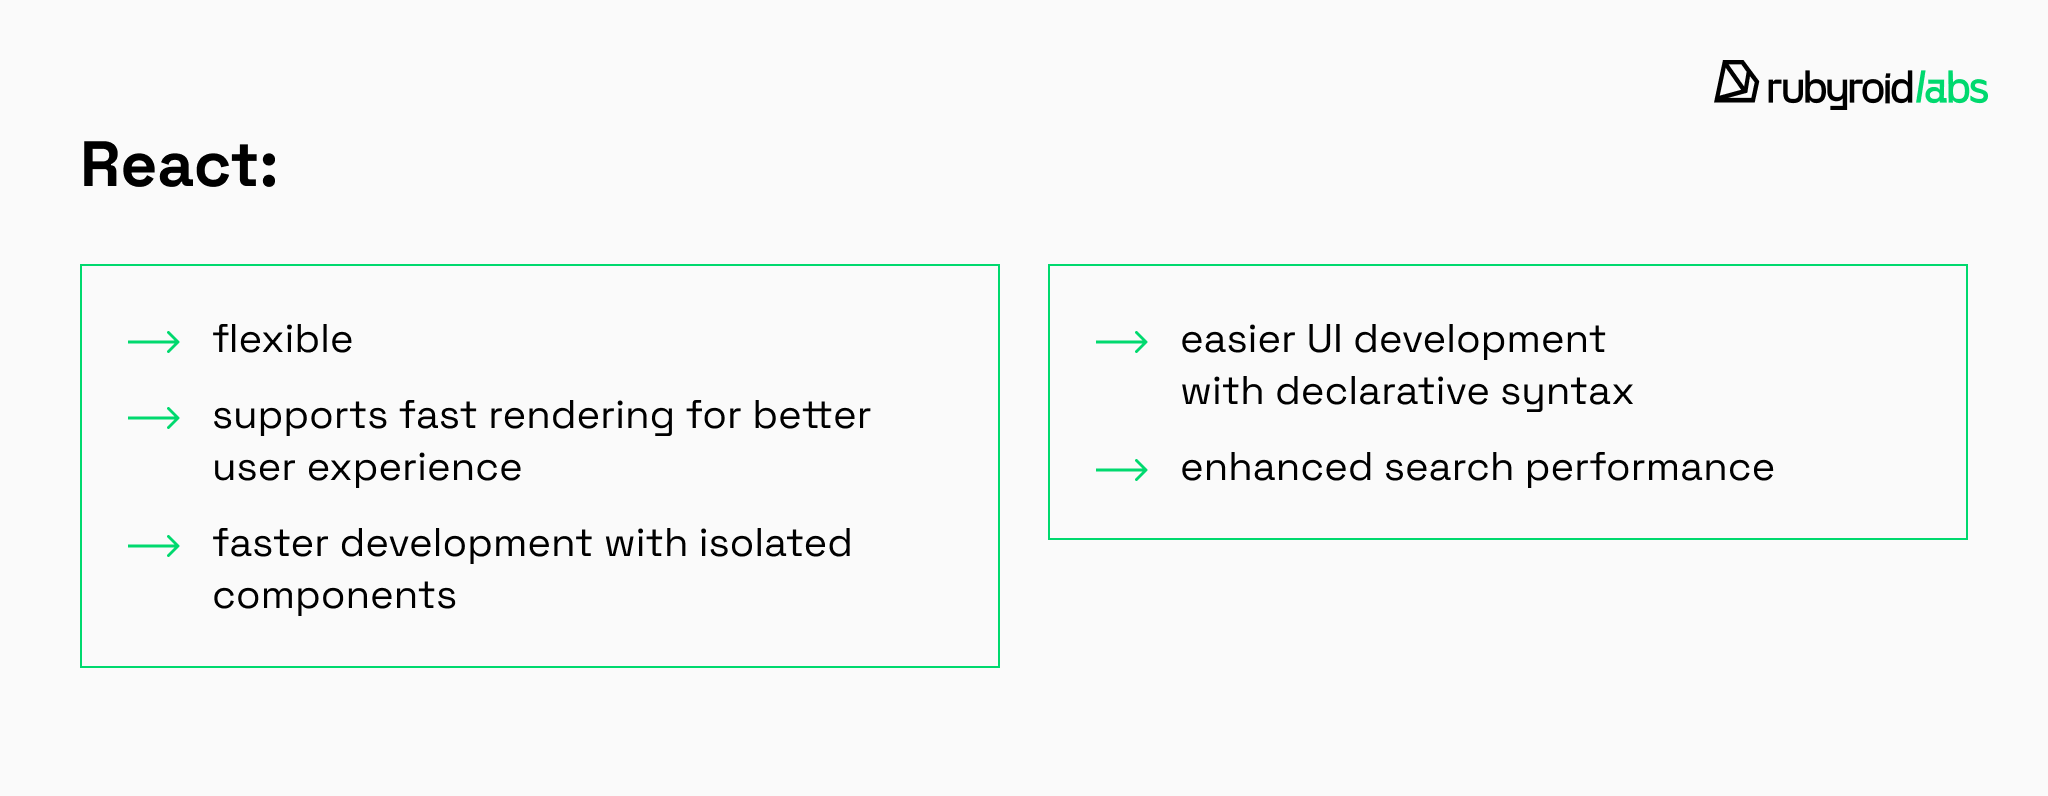
Flexibility with Component-Based Architecture
Because React supports a modular structure through its component-based architecture, developers can build user interfaces by breaking them down into smaller components. Each component focuses on separate pieces of functionality and can be reused in other parts of an app or project. This modularity provides the freedom to create more complex interfaces, organize dependencies, and maintain apps.
At Rubyroid Labs, we rely on this flexibility offered by the library when we develop ReactJS platforms and applications.
Fast Rendering & Better UX
React uses a virtual DOM to update only the parts of the UI that change, making rendering faster and more efficient. This improves performance and responsiveness, especially in complex interfaces.
Faster Development with Isolated Components
React’s component-based architecture allows small teams to work on different parts of the app simultaneously. Since components are independent, changes made by one developer rarely conflict with others, speeding up the overall development process.
Easier UI Development with Declarative Syntax
With React’s declarative syntax, developers can describe how the UI state should look instead of providing exact steps to achieve it, which then is used to update the DOM. This methodology leads to easier-to-understand code, which also results in the ease of identifying and troubleshooting issues.
Boosting SEO & Performance with React
The rapid rendering capabilities of React contribute to superior page speed metrics that search algorithms value highly. Faster-loading applications built with React tend to achieve better search engine positioning, helping companies increase their digital reach and attract more organic visitors.
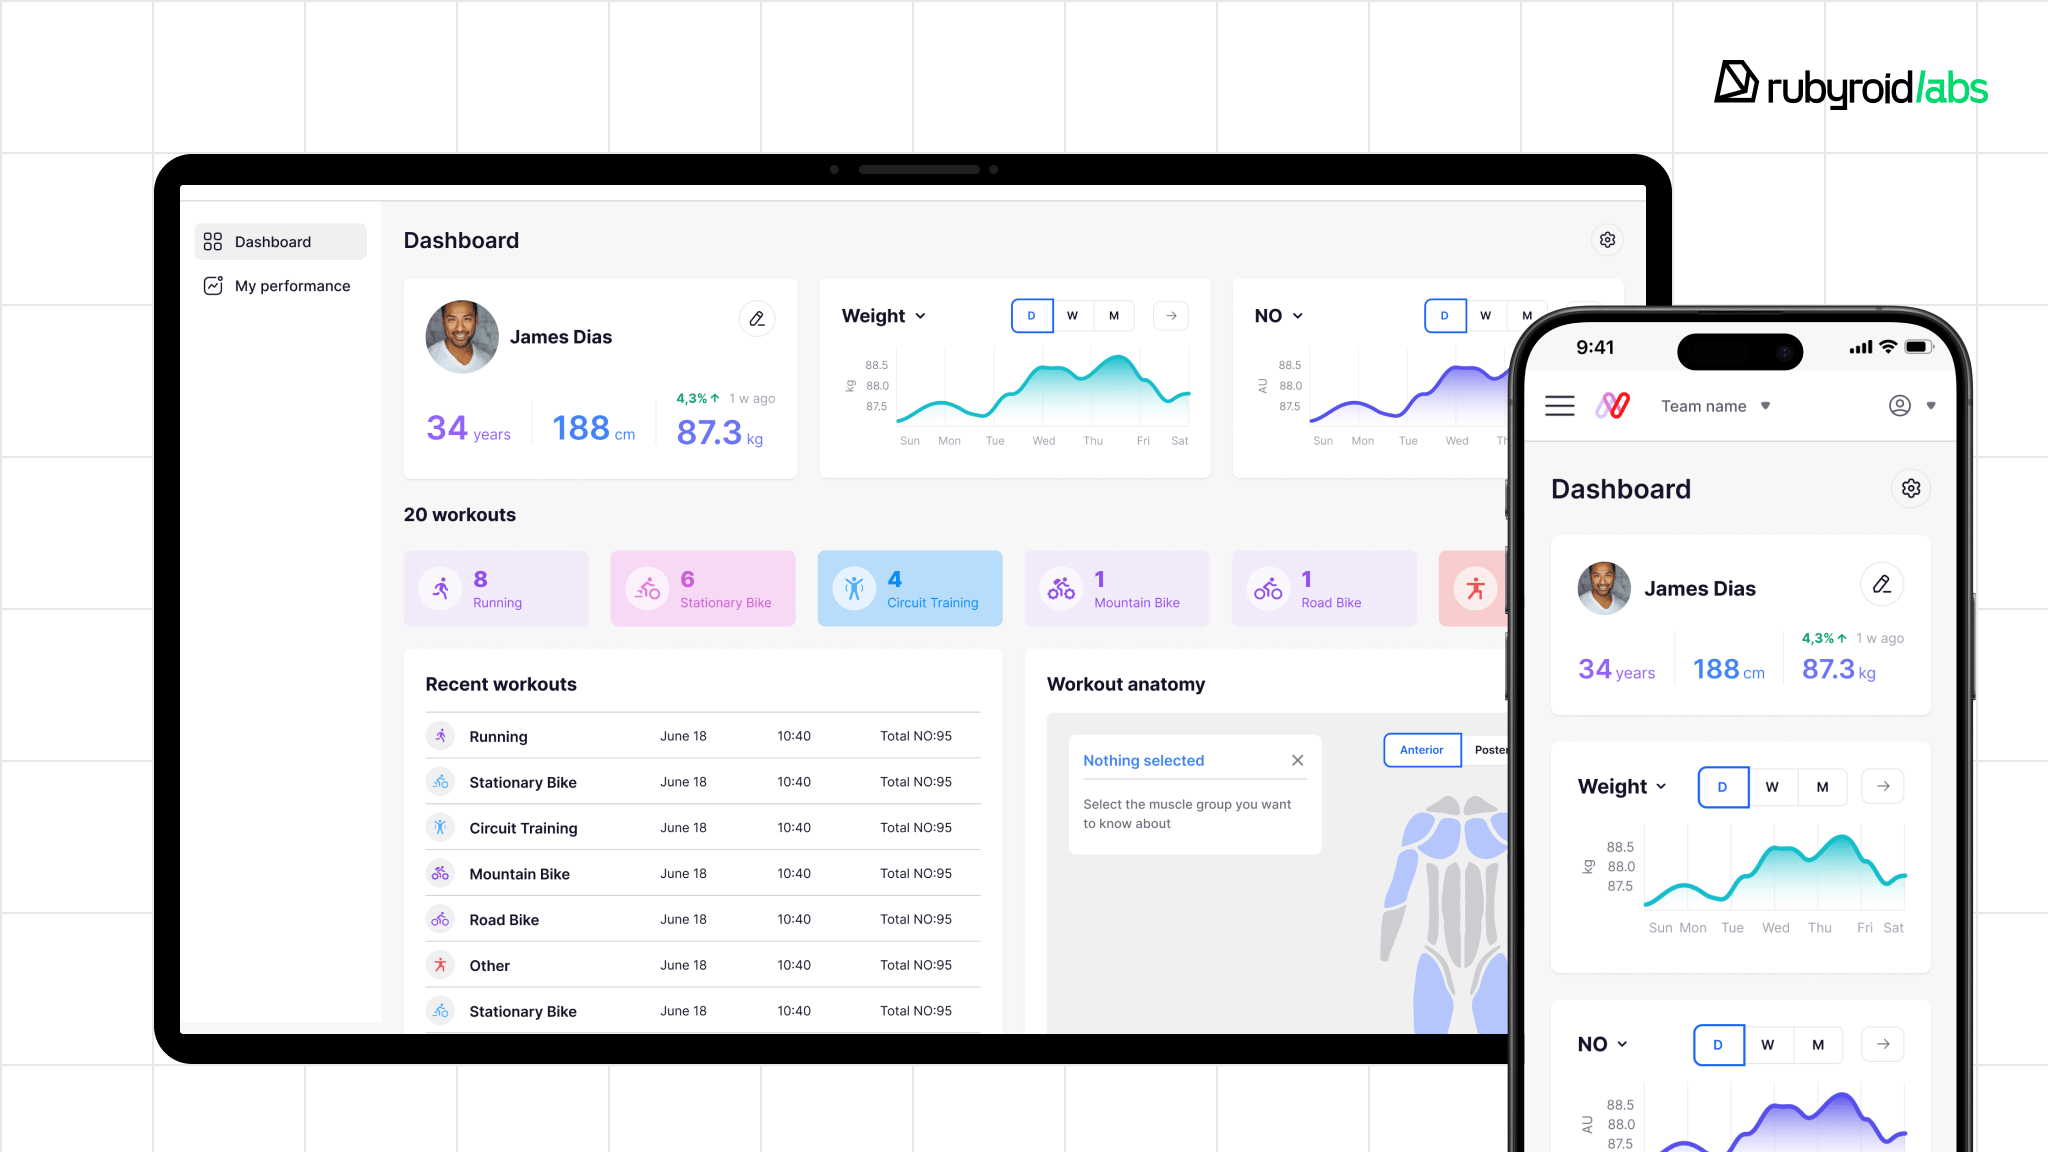
At Rubyroid Labs, our approach is to provide our clients with frontend choices that benefit their product potential. This is how we ended up using ReactJS on the frontend for one of our clients, NNOXX. We developed a platform that tracks data from a wearable device measuring nitric oxide levels in the blood. The platform offers various levels of analytics that customers can view through a mobile app or a web interface.
How to use React and Ruby on Rails in 2026
While ReactJS and Ruby on Rails are two separate technologies, they can work in tandem to help developers create more complex applications. There are two common ways to use Ruby on Rails with ReactJS:
Two separate applications with API communication. Here, you build two standalone apps: one for the frontend built with React and another for the backend built with Ruby on Rails. These two apps communicate via API requests. This allows you to decouple the frontend and backend, enabling them to operate independently.
Ruby on Rails app with React library. You build a Ruby on Rails application and connect the React library to the frontend. Developers working on the client side will use JS libraries without modifying the code as per the Rails framework standards. This approach is especially useful for smaller applications and situations where you want a more integrated development approach. Additionally, this eliminates the need to develop an API, resulting in faster development.
Server-Side Rendering (SSR) Hybrid. Use Next.js for the React frontend with Rails as a headless CMS/API backend. This gives you SEO benefits and better initial page loads while maintaining the separation.
Why use ReactJS with Ruby on Rails?
It leads to a faster time-to-market. Ruby on Rails has developer-friendly features, plugins, and coding libraries compatible with React app components. When ReactJS and Ruby are used together, they reduce development time and accelerate the app’s launch to the market.
It helps you create more complex apps. Ruby on Rails is a mature framework for building the back-end part of an application, offering a wide range of features for managing databases, handling authentication, and dealing with routing. React is used to build user interfaces, featuring a component-based architecture and a virtual DOM to create dynamic and responsive front-end experiences. This combination of distinct frameworks makes it a powerful stack for building web apps.
It is a reliable and stable combination for web development. Both technologies have active communities, receive regular updates, and offer advanced features, boosting web development practice. This combination of frameworks is used by such giants as X (Twitter), Crunchbase, Airbnb, and GitHub, adding a piece of reliability for building web applications using React with Ruby on Rails.
A nice example of how Ruby on Rails and ReactJS work together is the Yelz web store. Using Ruby on Rails on the backend and React with Next.js on the frontend, we developed a feature-rich e-commerce platform with a smart cosmetics recommendation module. The solution included CRM and warehouse system integration, online payments, and personalized product selection, all built within an agile workflow.

Integrating React with Ruby on Rails: Step-by-Step Tutorial
To show you the practical integration of Ruby on Rails with the React library, we’re going to create an application with sports exercises. This Ruby and React tutorial consists of 7 steps, each with code implementations, so you can copy code lines and implement them in your project.
We used the following versions of instruments:
- Ruby 3.4.6
- Rails 8.0.3
- PostgreSQL 17.6
- Yarn 1.22.21
Step 1. Create a Rails application
In Ruby on Rails, the process of creating a new application starts with the new command in your terminal:
$ rails new rails_react_exercise -d postgresql -j esbuild -c bootstrap -T
There are two actions this command performs. First, it places your application in the rails_react_exercise root directory, where you can find all files associated with your project. Second, it allows to automatically create Ruby and JavaScript dependencies needed for accelerated website development; and it configures Webpack, the JavaScript bundler.
There are four flags that come with the new command: the -d, -j, -c, and -t. They help to customize the set of the initialization process. For example, the -d flag points out the preferred database engine, while the -j flag specifies esbuild as the preferred bundler.
In the root directory, open its contents with the following command:
$ cd rails_react_exercise

$ ls
You will get a preview of files and folders that are the structure of your Rails application.
Step 2. Connect your application to a database
After you create a Rails project, it needs to be connected to a database. This Ruby on Rails React tutorial focuses on the PostgreSQL database where you store the user intent data.
First, run PostgreSQL on your machine. The best way to do that is to run a Docker container with a required PostgreSQL version:
$ docker run -d -p 5432:5432 -e POSTGRES_PASSWORD=postgres --name rails_react_exercise_pg postgres:17.6Then, modify config/database.yml. Add the following fields into default config:
host: localhost
username: postgres
password: postgres
Now you are ready to execute commands on that database.
The good thing about Rails is that it provides commands to accelerate the web development process and manage the database schema with the create, drop, and reset commands.
The process of creating a database is straightforward. Run the rails db:create command to create a development and test database.
Start your application with the bin/dev command; you should have the following output on your screen:
18:29:41 web.1  | started with pid 97212
18:29:41 js.1   | started with pid 97213
18:29:41 css.1  | started with pid 97214
18:29:41 js.1   | yarn run v1.22.21
18:29:41 css.1  | yarn run v1.22.21
18:29:41 css.1  | $ nodemon --watch ./app/assets/stylesheets/ --ext scss --exec "yarn build:css"
18:29:41 js.1   | $ esbuild app/javascript/*.* --bundle --sourcemap --format=esm --outdir=app/assets/builds --public-path=/assets --watch
18:29:41 web.1  | => Booting Puma
18:29:41 web.1  | => Rails 8.0.3 application starting in development
18:29:41 web.1  | => Run `bin/rails server --help` for more startup options
18:29:41 web.1  | Puma starting in single mode...
18:29:41 web.1  | * Puma version: 7.0.3 ("Romantic Warrior")
18:29:41 web.1  | * Ruby version: ruby 3.4.6 (2025-09-16 revision dbd83256b1) +PRISM [arm64-darwin25]
18:29:41 web.1  | *  Min threads: 3
18:29:41 web.1  | *  Max threads: 3
18:29:41 web.1  | *  Environment: development
18:29:41 web.1  | *          PID: 97212
18:29:41 web.1  | * Listening on http://127.0.0.1:3000
18:29:41 web.1  | * Listening on http://[::1]:3000
18:29:42 js.1   | [watch] build finished, watching for changes...
18:29:42 css.1  | [nodemon] 3.1.10
18:29:42 css.1  | [nodemon] to restart at any time, enter `rs`
18:29:42 css.1  | [nodemon] watching path(s): app/assets/stylesheets/**/*
18:29:42 css.1  | [nodemon] watching extensions: scss
18:29:42 css.1  | [nodemon] starting `yarn build:css`
18:29:42 web.1  | Use Ctrl-C to stop
18:29:42 css.1  | $ yarn build:css:compile && yarn build:css:prefix
18:29:43 css.1  | $ sass ./app/assets/stylesheets/application.bootstrap.scss:./app/assets/builds/application.css --no-source-map --load-path=node_modules
18:29:44 css.1  | $ postcss ./app/assets/builds/application.css --use=autoprefixer --output=./app/assets/builds/application.css
18:29:45 css.1  | [nodemon] clean exit - waiting for changes before restart
Go to http://localhost:3000 in order to see your application. You should have the default welcome page, which means that you set up your app correctly.
Step 3. Install React Frontend dependencies
The next step involves installing React js dependencies:
- React, which is the core library useful for interfaces.
- React DOM, which renders React elements into the DOM.
- React Router, responsible for handling navigation in your app.
To set them up, use the $ yarn add react react-dom react-router-dom command with the Yarn package manager. You can find installed dependencies in the package.json file.
In order to see the list of installed packages, check them under the dependencies:
{
  "name": "app",
  "private": true,
  "devDependencies": {
    "esbuild": "^0.25.10"
  },
  "scripts": {
    "build": "esbuild app/javascript/*.* --bundle --sourcemap --format=esm --outdir=app/assets/builds --public-path=/assets",
    "build:css:compile": "sass ./app/assets/stylesheets/application.bootstrap.scss:./app/assets/builds/application.css --no-source-map --load-path=node_modules",
    "build:css:prefix": "postcss ./app/assets/builds/application.css --use=autoprefixer --output=./app/assets/builds/application.css",
    "build:css": "yarn build:css:compile && yarn build:css:prefix",
    "watch:css": "nodemon --watch ./app/assets/stylesheets/ --ext scss --exec \"yarn build:css\""
  },
  "dependencies": {
    "@hotwired/stimulus": "^3.2.2",
    "@hotwired/turbo-rails": "^8.0.16",
    "@popperjs/core": "^2.11.8",
    "autoprefixer": "^10.4.21",
    "bootstrap": "^5.3.8",
    "bootstrap-icons": "^1.13.1",
    "nodemon": "^3.1.10",
    "postcss": "^8.5.6",
    "postcss-cli": "^11.0.1",
    "react": "^19.1.1",
    "react-dom": "^19.1.1",
    "react-router-dom": "^7.9.1",
    "sass": "^1.93.1"
  },
  "browserslist": [
    "defaults"
  ]
}
Step 4. Create the Homepage
The next step is to create a homepage where users land when they open your application.
Rails follows the Model-View-Controller architecture pattern, which receives user input and passes the data to the appropriate model or view.
Rails also has a controller component generator to create controllers; those are responsible for handling and processing user inputs, and updating the model and view.
In this Ruby on rails and React tutorial, we’re going to create a basic component related to handling requests for a homepage. Let’s create a Homepage controller with an index action:
$ rails g controller Homepage indexThis command has generated three new pages:
- A
homepage_controller.rbfile that receives requests related to a homepage. - A
homepage_helper.rbfile that includes helper methods for aHomepagecontroller. - An
index.html.erbfile that serves as a view page for rendering homepage-related actions.
Besides these new pages, Rails also updates your routes file at config/routes.rb by adding a get route for a homepage. To set it up, open config/routes.rb file.
In this file you see, replace get ‘homepage/index‘ with root ‘homepage#index‘. You should get an output similar to the one below:
Rails.application.routes.draw do
  root 'homepage#index'
end
With this change, Rails sets the root URL to the index action of the Homepage Controller, making the homepage the default landing page for your app.
Run your application to ensure that it starts with the landing page.
Next, open the app/views/homepage/index.html.erb file. Remove the code and save the file as empty; it will ensure that the contents of index.html.erb render separately from your frontend part.
Step 5. Configure React as your Rails Frontend
With React being on the frontend part of your app, you can excel at creating a dynamic and interactive homepage.
While most of the settings for seamless work between React and Rails are in place, you need to configure the esbuild entry point for JavaScript files.
To do this, create a components directory in the app/javascript directory — it’s where components for the entire application will be housed, including the entry file. Run this command:
$ mkdir app/javascript/componentsThen, open the app/javascript/application.js file. Add import "./components" to the last row.
With the directory imported into the entry point, now you can proceed to create a component for the homepage that will have content and a CTA button to view all exercises.
For that, create a Home.jsx file in the components directory to extend JavaScript code, and add the following code to the file:
import React, { useState, useEffect } from "react";
import { Link } from "react-router-dom";

export default () => {
  const [exercises, setExercises] = useState([]);

  useEffect(() => {
    fetch("/api/v1/exercises")
      .then((response) => {
        if (response.ok) {
          return response.json();
        }
        throw new Error("Network response was not ok.");
      })
      .then(setExercises)
      .catch((error) => console.log(error.message));

  }, [])

  return (
    <div className="vw-100 vh-100 primary-color d-flex align-items-center justify-content-center">
      <div className="jumbotron jumbotron-fluid bg-transparent">
        <div className="container secondary-color">
          <h1 className="display-4">Sport exercises</h1>
          <p className="lead">
            A list of sport exercises to boost your workout.
          </p>
          <hr className="my-4" />
          <div className="list-group mb-4">
            {exercises.map((exercise) => (
              <Link
                key={exercise.id}
                to={`/exercises/${exercise.id}`}
                className="list-group-item"
                role="button"
              >
                {exercise.name}
              </Link>
            ))}
          </div>
          <Link
            to="/exercises/new"
            className="btn btn-lg custom-button"
            role="button"
          >
            Create Exercise
          </Link>
        </div>
      </div>
    </div>
  );
};
As you can see from above, it has the Link component from React Router, which helps users to navigate from one page to another in your app.
Now it’s time to create the routes directory. It has corresponding components, which are rendered to a browser when a route is loaded. Run this command:
$ mkdir app/javascript/routesThen, create an index.jsx, add the following code to it:
import React from "react";
import { BrowserRouter as Router, Routes, Route } from "react-router-dom";
import Home from "../components/Home";

export default (
  <Router>
    <Routes>
      <Route path="/" element={<Home />} />
    </Routes>
  </Router>
);
In the code above, you’ve added the following modules:
- The React module, which is the core library that allows you to use React components.
- BrowserRouter, Routes, and Route modules that allow you to navigate between pages.
- The Home component, which renders a specific component when a request matches the root route.
Now that you have these modules, you can set up routing using React Router. For that, create an App.jsx file in the app/javascript/components directory and add the code below to the file:
import React from "react";
import Routes from "../routes";

export default props => <>{Routes}</>;
Render your App.jsx file in the entry file (app/javascript/components/index.jsx) with the following code:
import React from "react";
import { createRoot } from "react-dom/client";
import App from "./App";

document.addEventListener("turbo:load", () => {
  const root = createRoot(
    document.body.appendChild(document.createElement("div"))
  );
  root.render(<App />);
});
When the routing is set up, you can add CSS styles to your homepage. For that, open the application.bootstrap.scss file in your app/assets/stylesheets/application.bootstrap.scss directory and replace data with the code below:
@import 'bootstrap/scss/bootstrap';
@import 'bootstrap-icons/font/bootstrap-icons';

.bg_primary-color {
  background-color: #FFFFFF;
}
.primary-color {
  background-color: #FFFFFF;
}
.bg_secondary-color {
  background-color: #293241;
}
.secondary-color {
  color: #293241;
}
.custom-button.btn {
  background-color: #293241;
  color: #FFF;
  border: none;
}
.hero {
  width: 100vw;
  height: 50vh;
}
.hero img {
  object-fit: cover;
  object-position: top;
  height: 100%;
  width: 100%;
}
.overlay {
  height: 100%;
  width: 100%;
  opacity: 0.4;
}
By running this command, you just:
- Defined primary, secondary, and background colors.
- Defined the style of buttons on a page by running the
custom-button.btn class. - Added a hero image on the front page with a
.herosection.
Step 6. Create the Exercise Model and Controller
The next step in the React Rails installation script is to create the exercise model and controller.
While the model contains information about the exercises, the controller handles users’ requests and interacts with the database in order to retrieve data and send it to the browser.
In order to create an Exercise model, run the following command:
$ rails generate model Exercise name:string instruction:textThis command generated two files: one is the exercise.rb file that holds the model-related logic, and another one is the 20250924130912_create_exercises.rb file, which contains instructions for a database table where the Exercise data is stored.
To ensure that your database contains only valid data, you need to add database validation. For that, open your exercise model located at app/models/exercise.rb and add these lines to the code:
  validates :name, presence: true
  validates :instruction, presence: true
Then add the following into the migration file::
class CreateExercises < ActiveRecord::Migration[8.0]
  def change
    create_table :exercises do |t|
      t.string :name, null: false
      t.text :instruction, null: false

      t.timestamps
    end
  end
end
Run rails db:migrate to change DB structure according to the migration.
Now you need to create the exercises controller; for that, run the following command:
$ rails generate controller api/v1/Exercises index create show destroy --skip-template-engine --no-helperAfter running this command, Rails will generate a ExercisesController file in the app/controllers/api/v1 directory with index, create, show, destroy actions.
To use these routes, you need to change routes.rb file as following:
Rails.application.routes.draw do
  namespace :api do
    namespace :v1 do
      resources :exercises, only: [:index, :create, :show, :destroy]
    end
  end
  root "homepage#index"
  get "/*path" => "homepage#index"
end
To check the available list of actions, run the $ rails routes command. To ensure they run correctly, you need to add the logic to get exercises at once — the ActiveRecord library will help with that. For that, open your exercises_controller.rb file and add highlighted rows:
class Api::V1::ExercisesController < ApplicationController
  def index
    exercise = Exercise.all.order(created_at: :desc)
    render json: exercise
  end

  def create
  end

  def show
  end

  def destroy
  end
end
Next, you need to add the logic for creating new exercises; for that, update your controller with the following highlighted code:
class Api::V1::ExercisesController < ApplicationController
  def index
    exercise = Exercise.all.order(created_at: :desc)
    render json: exercise
  end

  def create
    exercise = Exercise.create!(exercise_params)
    if exercise
      render json: exercise
    else
      render json: exercise.errors
    end
  end

  def show
  end

  def destroy
  end

  private

  def exercise_params
    params.permit(:name, :instruction)
  end
end
After all that has taken place, save changes and close the file.
Step 7. Create a component for creating exercises
In this step, we’re going to create an app component that allows users to create new exercises. When the component collects exercise details from a user, it then saves the data in the Exercise controller.
To start, let’s create a NewExercise.jsx file in the app/javascript/components directory.Import the React, Link, useState, and useNavigate modules into the file:
import React, { useState } from "react";
import { Link, useNavigate } from "react-router-dom";
Create and export a NewExercise component:
const NewExercise = () => {
  const navigate = useNavigate();
  const [name, setName] = useState("");
  const [instruction, setInstruction] = useState("");
};

export default NewExercise;
As you see, the code above has a name and instruction states that your users would need to create a new exercise.
The next step would be to create a stripHtmlEntities function to represent characters with special meanings and not letting it store raw HTML in your database; for that, add the following lines into the component:
const stripHtmlEntities = (str) => {
return String(str)
.replace(/\n/g, "<br> <br>")
.replace(/</g, "<")
.replace(/>/g, ">");
};
To add a function of editing and submitting a form with new exercises, add the onChange and onSubmit functions into the component with the following lines of code:
const onChange = (event, setFunction) => {
    setFunction(event.target.value);
  };

  const onSubmit = (event) => {
    event.preventDefault();
    const url = "/api/v1/exercises";

    if (name.length == 0 || instruction.length == 0)
      return;

    const body = {
      name,
      instruction: stripHtmlEntities(instruction),
    };

    const token = document.querySelector('meta[name="csrf-token"]').content;
    fetch(url, {
      method: "POST",
      headers: {
        "X-CSRF-Token": token,
        "Content-Type": "application/json",
      },
      body: JSON.stringify(body),
    })
      .then((response) => {
        if (response.ok) {
          return response.json();
        }
        throw new Error("Network response was not ok.");
      })
      .then((response) => navigate(`/`))
      .catch((error) => console.log(error.message));
  };
To protect an application from Cross-Site Request Forgery attacks, Rails includes a CSRF token to the HTML document. On the server-side rendering part, Rails verifies the received CSRF token and the expected one. If the tokens match, the server processes the request; otherwise, it throws out an exception, indicating a potential CSRF attack.
As the last step of this Ruby on Rails with React tutorial, add the markup for a form where users can add details for their exercises. Add the following code at the end of the component function:
return (
    <div className="container mt-5">
      <div className="row">
        <div className="col-sm-12 col-lg-6 offset-lg-3">
          <h1 className="font-weight-normal mb-5">
            Add a new exercise to our exercise collection.
          </h1>
          <form onSubmit={onSubmit}>
            <div className="form-group">
              <label htmlFor="exerciseName">Exercise name</label>
              <input
                type="text"
                name="name"
                id="exerciseName"
                className="form-control"
                required
                onChange={(event) => onChange(event, setName)}
              />
            </div>
            <label htmlFor="instruction">Preparation Instructions</label>
            <textarea
              className="form-control"
              id="instruction"
              name="instruction"
              rows="5"
              required
              onChange={(event) => onChange(event, setInstruction)}
            />
            <button type="submit" className="btn custom-button mt-3">
              Create Exercise
            </button>
            <Link to="/" className="btn btn-link mt-3">
              Back to exercises
            </Link>
          </form>
        </div>
      </div>
    </div>
  );
To access this component on your browser, update the route file with these two lines:
import NewExercise from "../components/NewExercise";

<Route path="/exercises/new" element={<NewExercise />} />
To check your new Rails and React application, go to the http://localhost:3000 site. There, you will find the Exercises page and a button to create new exercise. Click on it to access a form where you can add new exercises.
As a homework, implement a page that displays exercise instructions at /exercises/:id.
If you need help creating a web or mobile application built using the React and Rails approach, Rubyroid Labs developers are ready to assist you.
Final Thoughts: Why Rails + React is a Reliable Stack in 2026
Using React and Ruby on Rails together in 2026 is a way to create well-structured and maintainable applications. Both ReactJS and Ruby on Rails provide access to strong community support and excel in their respective roles for frontend and backend development. To make your final application shine, Rubyroid Labs is ready to assist you throughout your app development, from ideation to market release.
Whether you want a single-page app or a complex and interactive user interface, we will leverage the full potential of the React library and Ruby on Rails features to deliver a product that pleases your customers.